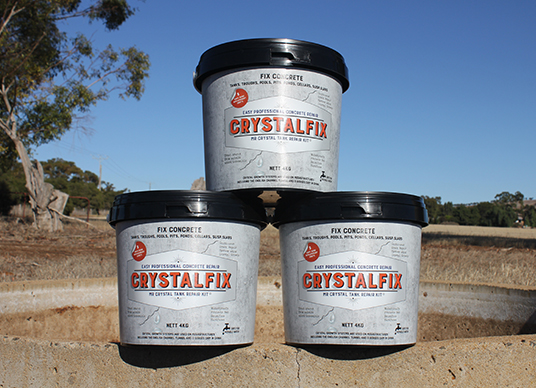
Concrete Tanks Instructions for use

Mr Crystal can be applied over or adjacent to cracks of concrete tanks, suspected weak points, cold joints, porous surfaces, around fittings. Mr Crystal can be applied to either side of the face of the concrete. Mr Crystal migrates through the voids in the concrete and will migrate usefully up to 400mm from the point of application. The resultant crystal growth is the waterproofing effect of this product. The raw product itself is not waterproof, in fact it is highly absorptive by design.

When applying Mr Crystal where there is flowing water, remember not to be too concerned that some product may wash off. It is important to focus on the intact material that hasn’t washed off to ensure that it is correctly applied, cured and stimulated. Allow some time for crystal growth to occur (a few days) then apply some more if needed.


Find your nearest stockist
crystalfix-7

Instructions for use

Step One - Evaluate

Evaluate

Check that structure is well supported on a solid base that has not eroded. Is it a cast or laminated structure? Check cracking patterns. Short wall cracks can be treated from outside whilst water is present. Vertical cracks that continue to the base are a good indication that the crack continues across the floor, thus, you will need empty the tank to treat this. Horizontal cracks at 100 – 250 mm from base indicate a wall/floor joint problem which again, will need to be treated from inside with additional patching. Before entering any structure, be aware of safety issues of confined spaces.
Step Two - Clean

Clean

It is important the area to be treated is clean. Crystalfix migrates into, and reacts with your concrete. The better it is in direct contact with your concrete, the better the resultant crystal growth. Use any tool you may have to achieve this with the exception of a wire wheel. Wire wheels tend to polish the concrete which may impede migration of crystal growth. Handy tools are: Pressure Washer, chipping hammer, angle grinder, stiff brush or use muriatic acid for oil or grease contaminated area’s. Check our detailed cleaning tips for more info.
Step Three - Mixing

Mixing

For easiest results, use during moderate weather. Check safety directions. Mix a small test batch of powder with clean water, experimenting, to achieve a thick, yet just paintable slurry. Depending on the current conditions, including the temperature of the concrete, you may need to adjust the mix as you go. Use gloves to avoid prolonged skin contact.
Step Four - Application to cracks

Application to Cracks

Keep the area to be treated wet immediately prior to application. Using the enclosed brush or other small tool of your choice, apply a strip of the mixture over the crack, 50mm wide. You will need to build this up to approximately 6mm thick, which may require additional coats. There is no minimum time between coats. If applying near running water, focus on getting product adjacent to, and not over that area. Importantly, remember, that this is not a membrane that will stop water flow immediately and does require time to allow for crystal generation. As a rule of thumb, the quicker that products work in this situation, generally the quicker they fail. Crystal fix is designed to meet your longer term needs. Remember, when product is washing away at a point, it will be easier to add more product in 7-21 days after it has slowed from crystal growth.
Step Five - Curing

Curing

The active chemistry in Crystalfix is a graded white powder. It comes to you, blended with neat cement. The neat cement simply acts as a vehicle/carrier to introduce this clever chemistry to your concrete. It is important to understand that concrete/cement doesn’t dry in order to go hard, but rather, cures. To cure, the process requires water. Applying the product on a hot sunny wall could see the mix dry out within a few minutes, simply turning back to powder and falling away, therefore it is imperative that the mix stay hydrated especially in the 1st 36 hours. Hanging a wet bag or taping a plastic membrane over your work on hot outside walls can help curing. See curing for more info.
Step Six - Post treatment evaluation